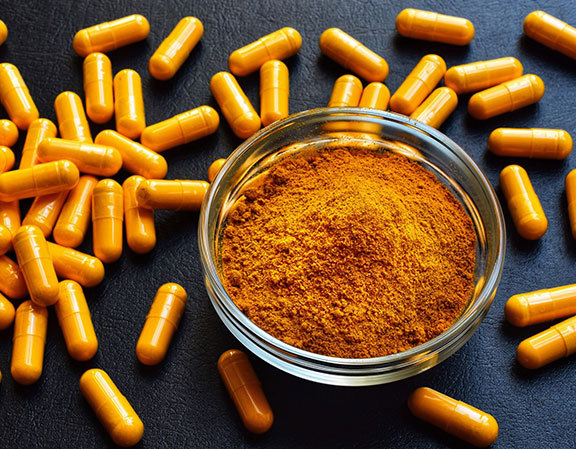
TURMERIC FARMING GUIDE

Turmeric (Curcuma longa L) is a perennial root plant of the ginger family. Turmeric might be native to India since its mention can be seen in Ayurvedic medicine usage and also in cooking. However, it is now cultivated in the following countries – China, Myanmar, Bangladesh, Nigeria, Indonesia, Thailand, Taiwan, Central and Latin America, and some South Asian countries.
Turmeric can be grown as a mono-crop or as an intercrop. Let’s discuss the turmeric cultivation process in detail.
Soil & Climate Requirements

CLIMATE
Turmeric being a tropical crop, can be easily grown in diverse tropical climates. But it grows best in a warm and humid climate. It should be grown from sea level to 1500m. The temperature range should be between 20 to 30C. It should receive an annual rainfall of 1500 mm or more per annum. Turmeric plants can also glow under irrigated conditions.
Soil
Turmeric can thrive on different types of soil, but it grows best on well-drained clayey loam soil with large humus content. However, it can also grow in soils, like ashy loam soil. Other soil types range from red soils to light black loam soil and rich loam soil.
Similarly, the soil should not be acidic as the rhizomes would get affected by
alkalinity. The ideal soil pH should be between 4.5 to 7.5. A soil test is advisable
for determining the characteristics of the soil.
CROP ROTATION

If you are growing turmeric organically, then it must be rotated with other organic crops. This crop can grow with other crops like onion, garlic, maize, pulses, and sometimes even with some vegetables.
PREPARATION OF LAND

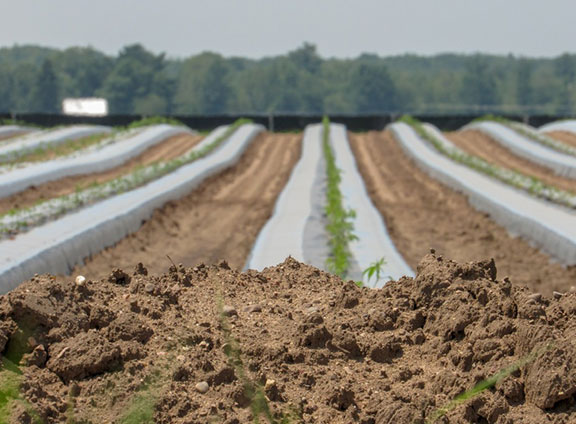
The farmers should prepare the land after the onset of early monsoon show-ers. The soil must be given a deep ploughing. Based on the soil’s pH value, hydrated lime must be applied to the soil and again it must be ploughed thoroughly.
With the receipt of the showers, beds of Om width and 15 to 30cm height must be made. A spacing of 10 -20cm must be there between two rhizomes and the beds must be 40-50 cm apart from each other. Similarly, the spacing between the ridges. Small pits must be made in the beds and they must be covered with cattle manure or Trichoderma mixed compost. Since this crop is a shade-loving plant, castor can be grown along the borders of the turmeric beds.
SEED - PLANTING MATERIAL
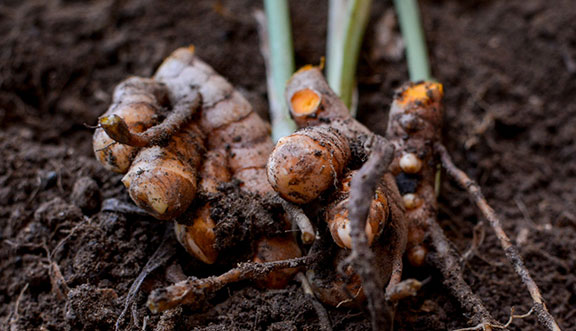
Carefully selected whole or split seed rhizomes are used for turmeric plantation. The finger rhizomes should be healthy and free from diseases. Usually, the seed rhizomes from the previous harvest season are used for turmeric cultivation. But those who are cultivating turmeric for the first time, then they can buy rhizome seeds from the local agricultural farms. When buying from farms, it’s better to go for high-yielding varieties. For instance, the Prathibha variety is a good choice for those who want high-yielding and disease-free turmeric seeds. However, if you are going to cultivate organic turmeric, seed rhizomes of organic turmeric must be used. Organic rhizome seeds are easily available from organic cultivation farms.
The rhizome seed must be treated with an agricultural fungicide, shade-dried for a few hours, and then planted. To plant 1 hectare of turmeric, a seed rate of 2500 kg of rhizomes are required.
SOWING

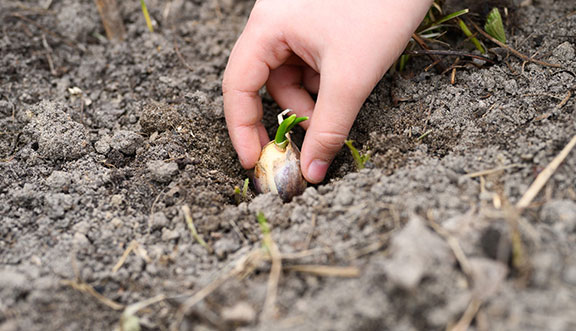
For sowing, the mother rhizomes are used. However, finger rhizomes are also used. Care must be taken to sow the rhizomes, either in whole or in half provided both halves must contain a bud. When using finger rhizomes, they must be cut into long pieces of 4-Scm each. Before sowing the turmeric seed, rhizomes can be sprouted by keeping it under a moist straw.
PLANTING

The planting of this crop is done by forming ridges and furrows. The crop must be planted immediately after the pre-monsoon showers. The period varies from state to state, but it’s usually between April – May. In Kerala, Apri is considered the ideal time; whereas, May is the ideal period for Karnataka and Maharashtra. However, the planting season varies in other parts of the country. It is done from May to June or July to August. Usually, carefully preserved seed rhizomes are used for planting the crop.
CULTURAL PRACTICES
Soon after plantation, the crop must be mulched with green leaves or sugarcane trash at the rate of 12 to 15 tonnes per hectare. Mulching enhances the process of germination of seed rhizomes and even prevents the soil from getting washed off after heavy rains The second mulching must be followed after 50 days of planting using the same amount of green leaves. It should be done after weeding and fertilizer application.
Weeding must be carried out thrice and for it an interval of 60 days, 90 days, and 120 days must be kept after planting. Based upon the intensity of weeds, the frequency can be increased or decreased. Also, depending on the soil condition, irrigation can be given.
MANURING & FERTILIZATION
To get maximum output from the plantation, farmers should use or-ganic manures, Natural fertilizers and composts are always the best choic-es. Chemicals and harmful pesticides should be avoided at all costs. Heavy manuring is needed for this crop. Hence, the application of rotten cow dung or compost must be used. The same must be applied to the soil during land preparation. Application of neem cake is also recommended and must be applied at the rate of 0.8 tonnes per acre.
PLANT PROTECTION
Certain approaches must be taken to protect the crop from pests and dis-eases. To minimize pests and disease incidence, regular field surveillance must be carried out. A proper under-standing of the pest life cycle can help farmers to take appropriate action.
On noticing the incidence of shoot borer, the shoots must be cut open. The larvae must be picked out and destroyed. Neem oil can be sprayed ‘once every fortnight. Diseases like Leaf blotch or Leaf spot can be con-stricted by using a 1% Bordeaux mix-ture. Rhizome rot can be prevented by Trichoderma application during the time of seed planting.
HARVESTING
The best time to harvest turmeric rhi-zome is from late fall or early winter, which usually falls 8 to 10 months after planting. The trick to good turmeric har-vesting is to select the right time. If the
turmeric rhizomes are harvested early, they would be small in size; whereas, if it is harvested at the right time, the rhi-zomes would be fibrous. So, the moment the leaves of the plant turn yellow and
the stems start to dry out, you know that the crop is ready for harvesting.
HOW TO HARVEST?
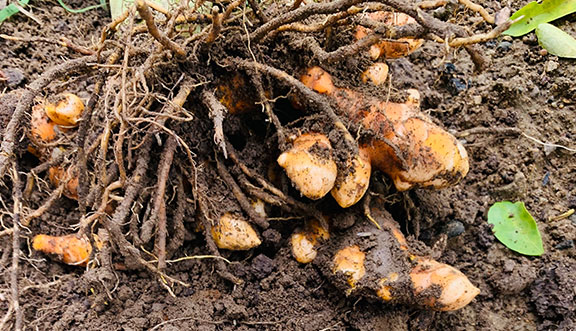
For turmeric harvesting, the land needs to be ploughed first. Then the entire plant must be dug up from its base including the pseudostem. Care must be taken so that the rhizome tubes don’t get pierced. Once the roots and pseudostems are pulled out, the excess soil must be shaken off. At this point, the fibrous roots must be cut off. However, an inch of stem above the rhizomes must be kept.
The collected rhizomes must be cleaned properly. Once the rhizomes are cleaned, the mother and finger rhizomes are separated from each other. The mother rhizomes are going to be used as seed rhizomes for the next plantation cycle; whereas, the finger rhizomes mostly go for curing,
PROCESSING
This is a lengthy and challenging process. It involves boiling fresh turmeric rhizomes in water and drying them under the sun. No chemicals can be used for processing.
The cleaned rhizome must be boiled in any one of these vessels, i.e.copper or earthen, or galvanized iron vessels. The water must be just enough to immerse the rhizomes.
But the rhizomes should be boiled till it becomes soft. Or, the moment you get a typical odor and see white froth on top of the water, stop the boiling. The process usually takes 40-60 minutes. Once the rhizome is cooked, it is taken out of the water and the water is drained off. The same water can be used for curing more rhizomes.
The stage at which boiling is stopped would largely influence the color and aroma of the final product. So, the turmeric shouldn’t be under-cooked or over-cooked.
Alternatively, cleaned rhizome fingers can be cured in perforated baskets. The rest of the curing process remains the same. Curing of mother and finger rhizomes should be done separately. This process must be carried out within 2-3 days of the harvest.
The cooked rhizomes are dried under the sun by spreading them over the bamboo mats and cement floors. The rhizomes are spread in thick layers of 5-7 cm for getting the desired color.
At night, the rhizomes need to be heaped and covered properly. This would prevent moisture from settling on the rhizome. It takes 10-15 days for the rhizomes to get completely dry. The bulbs and fingers must be dried separately. A clean surface must be used for drying the rhizomes. This would prevent contamination.
Artificial drying is sometimes carried out to dry sliced turmeric rhizomes. For artificial drying, a cross-flow hot air of 60°C must be used. With this form of drying, brighter colored end-products are achieved.
Dried turmeric has a poor appearance. It is characterized by dull color and the outer surface is covered with roots and scales. The appearance is improved by polishing and smoothening its outer surface. It is done either manually or through a mechanical rubbing process.
During manual polishing, the finger rhizomes are rubbed on the hard surface. However, an improved method is using a hand-operated barrel that is mounted on a central axis. The barrel is rotated at 30 rpm. This is when the rhizomes get polished against the metal mesh surface inside the drum. At the same time, when the rhizomes get rubbed against each other, they get polished. Sometimes, power-operated barrels are also used.
The price of turmeric produced is greatly determined by the color. To give turmeric an attractive yellow color, turmeric suspension is often sprinkled over the rhizomes. It is usually carried out during the last 10minutes of the polishing process. When the rhizomes are properly coated with the suspension, it is dried under the sun.
PACKAGING

WHOLE TURMERIC:
A well-cured and dried turmeric can be packed in gunny bags that are fumigated properly.
OTHER OPTIONS:
Other packaging options are carton boxes, zip-lock pouches, and plastic pet jars.
TURMERIC POWDER:
Studies have shown that aluminum-foil laminate is best to offer protection against moisture ingress and loss of volatile oil. But polyethylene pouches aren't deemed appropriate for protecting the product against volatile oil loss. However, a double pouch can offer adequate protection to the turmeric powder for more than 135 days, irrespective of the storage conditions. Hence, it's best to pack turmeric powder in multiwall bags, tin containers, and fibre drums.
YIELD
The yield depends on the crop variety and also on the soil type, climate, irrigation management, and other crop management factors. If ideal farming conditions are maintained, 250 to 300 quintals / hectare of fresh rhizomes can be obtained.
MARKETING
Cured turmeric is marketed under various forms, such as whole. powder, and even in dried form.
